Introduction
You’ve eaten tamagoyaki at restaurants. It’s a popular sushi topping. It is a side dish staple in bento boxes, izakaya menus, and breakfast spreads. And now you’ve decided to try recreating this silky Japanese rolled omelette at home.
While one can in theory make tamagoyaki with a regular round pan, its distinctive shape is thanks to a rectangular pan designed specifically for cooking this style of omelette. Read on to find out more about these pans and how to choose one that’s right for you.

What is tamagoyaki?
Tamagoyaki is a Japanese style of omelette with a tender, custardy texture. Its distinctive shape comes from rolling multiple thin layers of omelette into a log, and then slicing it.
The exact combination of seasonings varies by cook and region, but dashi, soy sauce, mirin, and sugar are often added to the beaten egg mixture before cooking. Some cooks such as Nancy Hachisu believe that starting with high-quality eggs means that seasonings can be kept to a minimum to highlight the flavour of the eggs themselves — a touch of soy sauce and sugar is all that’s needed.
Broadly speaking, tamagoyaki falls into two camps — Kantō-style and Kansai-style. The former tends to be sweeter and firmer, while the latter is characterised by its savouriness and delicate texture, thanks to a higher ratio of dashi to egg.

Whenceforth the tamagoyaki pan?
A tamagoyaki pan — also known as a makiyakinabe — is a rectangular or square frying pan designed specifically for making Japanese rolled omelettes.
We noted in our previous article that recipes for tamagoyaki appear as early as 1785 in Edo period cookbooks. Japanese sources suggest that specialised tamagoyaki pans were also developed around a similar time, as cooks needed a way of making uniformly-sized blocks of egg that could be prepared and sliced ahead of time for sushi, bento boxes, and the like.
Dimensions and proportions vary by style and region, but these pans are always rectangular. Broadly speaking, they fall into three categories. Kantō-type pans are more squarish — great for the type of blocky, uniformly-shaped tamagoyaki you see in sushi and bento. Kansai-type pans are taller and narrower, resulting in tall, multi-layered rolls. Nagoya-type pans are shorter, wider rectangles that give you wider, flatter omelettes.

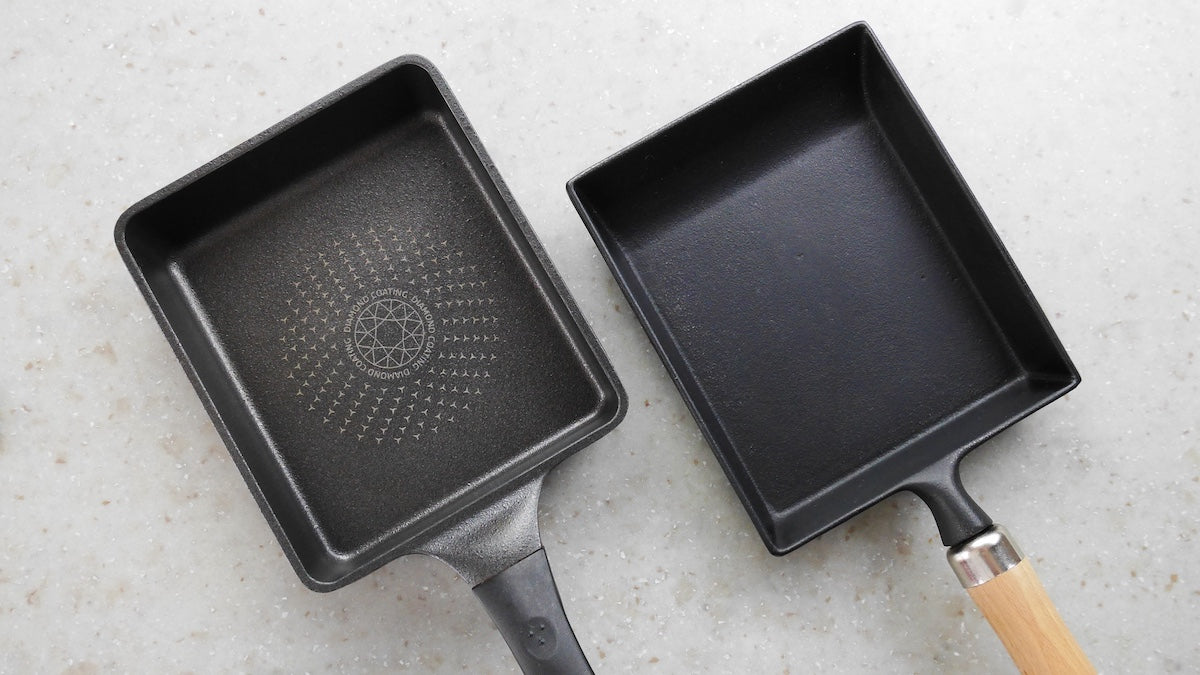
What are tamagoyaki pans made of?
Professional tamagoyaki pans tend to be made of copper lined with tin, as they have excellent heat conductivity and behave like nonstick pans when well-seasoned. Cast iron behaves similarly, but heats up more slowly.
Copper pans in particular are trickier for the beginner cook to work with for a few reasons. For one, they require a greater level of skill — it needs to be thoroughly seasoned, and their noticeable weight can make rolling the egg layers more difficult. Tilting a heavy pan can get tiring quite quickly. They heat up very quickly, requiring the cook to pay close attention so that the omelette layers don’t brown too quickly. They’re also considerably pricier than cheap nonstick or aluminium versions.
Aluminium and stainless steel versions are also available on the market. Aluminium pans with a nonstick coating are popular with home cooks as they’re lightweight, inexpensive, and easy to use. However, you get what you pay for — pans with nonstick coatings have to be replaced every few years, and they’re nowhere near as durable as copper ones. Stainless steel pans are a less-than-ideal choice for tamagoyaki as they require much more oil to prevent egg layers from sticking.

How to season tamagoyaki pans
This only applies to copper or cast iron pans, not nonstick pans.
Generally speaking, it’s best to follow the manufacturer’s instructions when it comes to seasoning and caring for your pan. But if you’ve been gifted a new tamagoyaki pan from someone else sans directives (we should all be so lucky), the following advice should help you season and keep the pan in good condition.
Seasoning a copper pan
Seasoning a copper tamagoyaki pan (lined with food-safe tin) is very much like seasoning a wok. It involves abura-narashi, a simple oil conditioning that protects the lining and helps prevent food from sticking to the surface.
First, wash the inside of the pan with a mild detergent and soft sponge. Rinse and dry it thoroughly.
Then, fill the pan to an approximate halfway depth with a neutral cooking oil that has a high smoke point, such as canola or vegetable. Place the pan over low heat for 4-5 minutes, gradually warming the oil. Take care not to let the oil smoke.
As the oil is heating up, pick up a folded paper towel with a pair of chopsticks, and use it to gently ‘wipe’ the tin surface along the sides and the bottom of the pan. This is to make sure every single cranny has been thoroughly oiled.
After five minutes, turn the heat off and let the oil fully cool. Pour the oil into a container for another use. Wipe away any excess oil with a clean paper towel.
Seasoning a cast iron tamagoyaki pan
A similar set of steps applies to seasoning cast iron tamagoyaki pans, with a few differences.
First, clean the inside of the pan with hot water and a soft sponge to remove the protective wax. Rinse and dry it thoroughly. Extra care should be taken in drying the pan, as any water droplets left will spatter when there’s oil present.
Pour just enough oil to cover the bottom of the pan — do not fill it halfway like you would a copper pan. Heat on medium-high until the oil begins to smoke. This may take around 5-8 minutes.
Once the oil is smoking, turn off the heat and let the oil fully cool. Pour it out and wipe the pan down with a paper towel. That’s your pan seasoned!

How to choose a tamagoyaki pan
Choosing the right tamagoyaki pan depends on your personal needs and goals. Consider the following factors.
- Skill and cooking goals: Are you a seasoned tamagoyaki maker, or are you just starting out? Beginners may want to practice with a nonstick pan to get a feel for the technique, but more confident cooks might want to skip straight to a professional copper pan.
- Weight: Copper and cast iron are fairly heavy, which can put strain on the wrist. Nonstick aluminium pans are usually quite light and forgiving.
- Material: Nonstick coatings are convenient but not necessarily safe for long term use, while copper and cast iron are tried and true materials for cooking equipment. Also, you will have to replace nonstick pans every few years. However, copper and cast iron require more maintenance in the way of seasoning.
- Shape: Pick the shape that matches the style of tamagoyaki you want to master, whether that’s Kanto, Kansai, or Nagoya-style.
- Size: Are you cooking solo, or for a family? Small pans are for 1-2 eggs, while medium pans generally have a 3-4 egg capacity.